Customer Care
My CEIVA frame won't connect through my phone line.
CEIVA 2 and 3
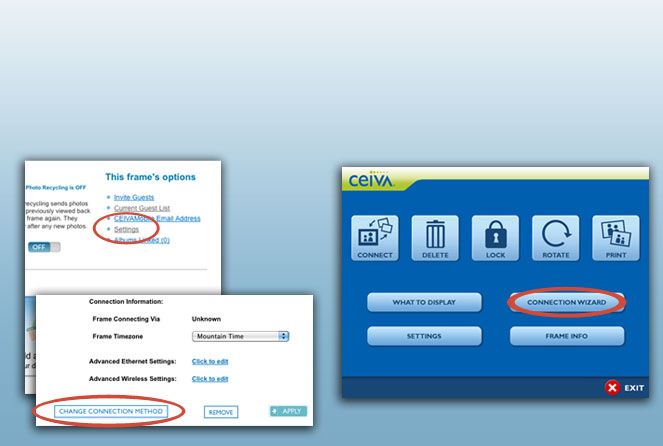
Go to My Frames in your ceiva.com account, click Settings, and click Choose Connection Method.All Other Models
Press the Menu button on your CEIVA frame or remote, highlight Connection Wizard, and press Select.Things to try:
Check your connections. Unplug and plug the phone and power cords securely into the back of your CEIVA frame. Make sure your phone wall outlet is working and has an uninterrupted dial tone. If you are using a phone splitter, try removing it and plugging your CEIVA into the wall directly.
Check your connection method.* Use the Connection Wizard on your CEIVA frame or your frame settings at ceiva.com to verify your connection method or add a dialing prefix if necessary.
Check your phone service provider. Some types of digital phone lines may experience problems connecting. If you are able to use a fax machine, your CEIVA frame should be able to connect. If you are not sure, we recommend using your broadband or wi-fi internet connection.
Once you change any settings, press and hold both the black and white buttons on the back of the frame. When the LCD screen turns black, let go of the buttons. Your CEIVA frame may take up to 20 minutes to reconfigure its new settings.
If you are still having problems, call our toll-free U.S.-based Customer Care Team at 1-877-MYCEIVA (1-877-692-3482) and we'll be happy to help.
* The CEIVA 1™ model is automatically set to telephone connectivity.
Contact Us
CEIVA Logic Inc.
303 N Glenoaks Blvd STE 200Burbank, CA 91502
Customer Care Hours
Monday-Friday9:00 am - 4:00 pm PT